
Taking in the Waist of Your Jeans: A DIY Guide to a Perfect Fit
Finding the perfect pair of jeans can feel like searching for a holy grail. You might find a style you love, but the waist gapes or the fit feels baggy. Don’t despair! Taking in the waist of your jeans is an easier alteration than you might think, and it can transform a pair of ill-fitting jeans into your new favorites. This guide will walk you through the process step-by-step, with options for both sewing and no-sew approaches.
Before You Begin
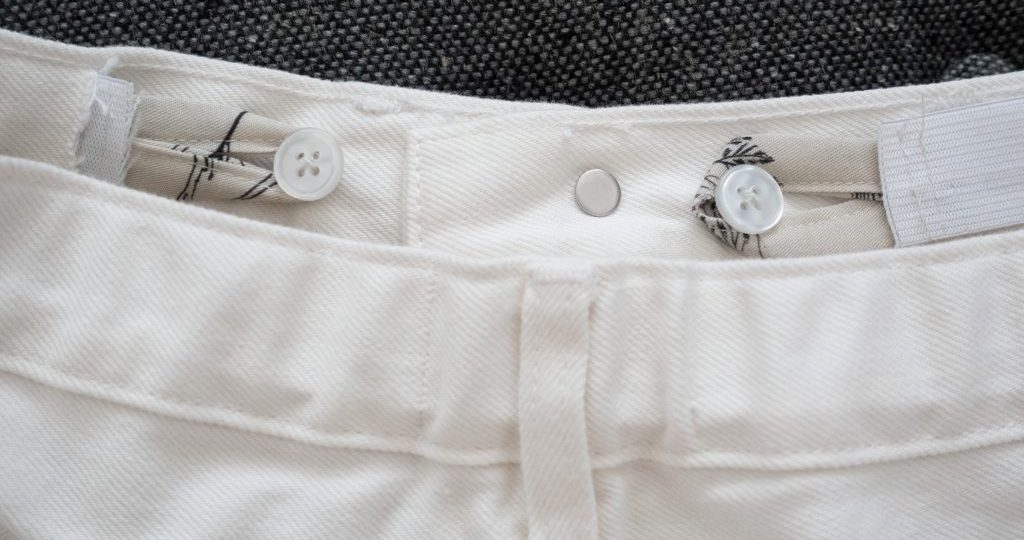
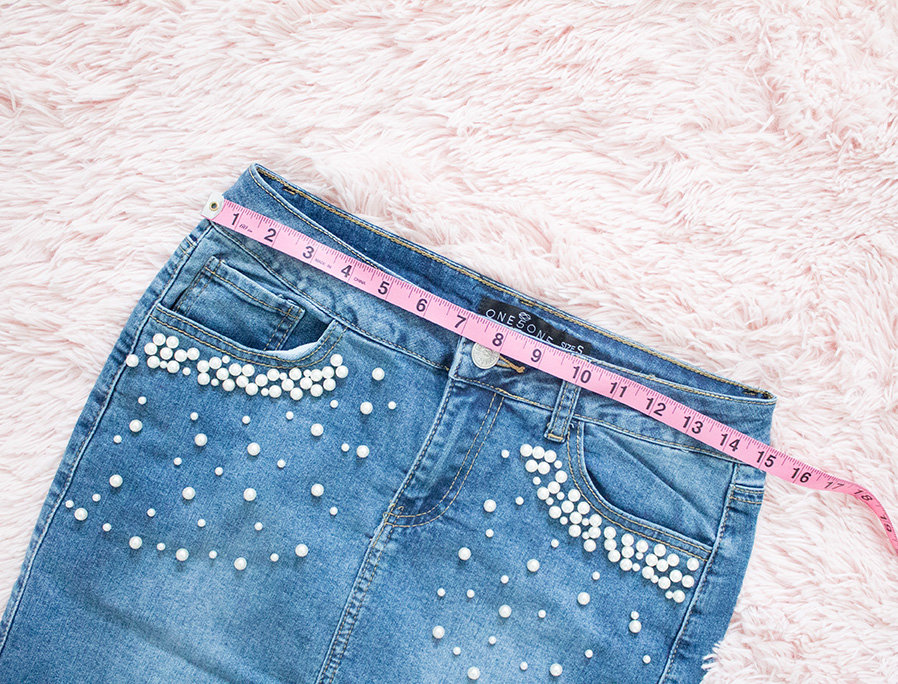
First things first, assess your jeans. Is the looseness concentrated in the back or spread evenly across the entire waist? How much do you need to take in? Ideally, try on the jeans inside out and pinch the excess fabric at the sides to see how much needs to be removed. A good rule of thumb is to aim for 1-2 inches (2.5-5 cm) of reduction on each side.
Taking Stock of Your Tools
Next, gather your supplies. For the sewing method, you’ll need:
- Sewing machine and matching thread (ideally in a color that closely resembles your jeans)
- Sewing pins
- Fabric shears (or sharp scissors)
- Tailor’s chalk or marking pen
- Seam ripper (optional, but helpful)
- Iron
For the no-sew method, you’ll need:
- Fabric glue specifically designed for denim (avoid regular fabric glue)
- Iron
- Ruler or measuring tape
Sewing Method: Taking Control with Stitches
-
Prep the Jeans: Turn your jeans inside out and lay them flat on a work surface. Smooth out any wrinkles.
-
Measure and Mark: Here’s where assessing the looseness comes in handy. If the extra fabric is concentrated in the back, mark a new seam line with tailor’s chalk or a marking pen 1-2 inches (2.5-5 cm) inwards from the existing back seam on each side. If the looseness is even throughout the waist, mark the new seam line along the entire side seams and waistband, again moving inwards by your desired amount.
-
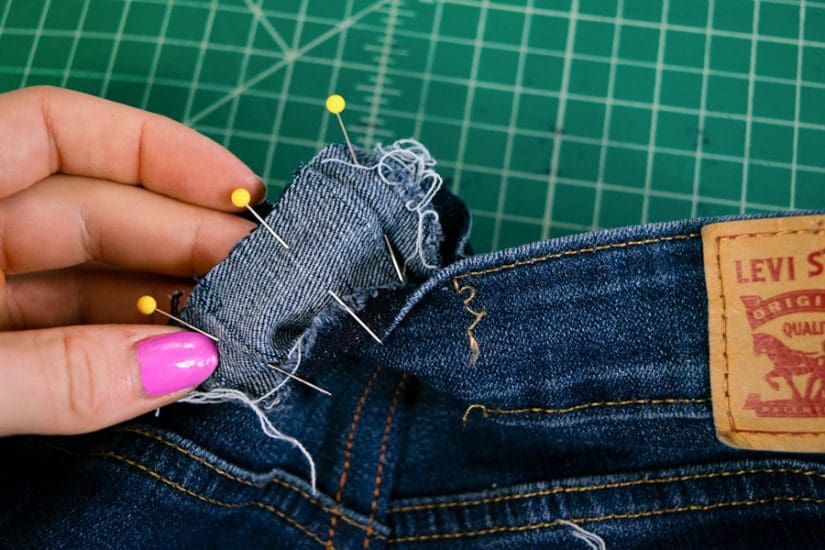
Taking Apart the Waistband: Carefully unpick the stitches that connect the waistband to the jeans body along the back seam (or all the way around if you’re taking in the entire waist). A seam ripper can be helpful here, but be gentle to avoid damaging the fabric.
-
Pinning the New Seam: Fold the excess fabric inwards along the marked seam line and pin it in place. Ensure the pins go through both layers of denim. Try on the jeans inside out with the pins in place to double-check the fit. Make any necessary adjustments and repin.
-
Sewing the New Seam: Using your sewing machine and matching thread, sew along the pinned seam line. Backstitch at the beginning and end to secure the stitching.
-
Finishing Touches: Once sewn, remove the pins and press the new seam flat with an iron. Trim any excess fabric close to the seam.
-
Reattaching the Waistband: Line up the raw edge of the waistband with the new seam you just created and pin it in place. Sew the waistband back onto the jeans body, following the original stitching line as a guide. Press the finished waistband flat.
No-Sew Method: A Quick Fix for Minor Adjustments
If you’re not comfortable with sewing, or the looseness is minimal, here’s a no-sew option:
-
Prep the Jeans: Turn your jeans inside out and lay them flat.
-
Measure and Mark: Similar to the sewing method, mark a new seam line with chalk 1 inch (2.5 cm) or less inwards from the existing back seam on each side (or all the way around if needed).
-
Folding and Gluing: Fold the excess fabric inwards along the marked seam line. Apply a thin layer of fabric glue specifically designed for denim along the fold.
-
Press and Secure: Using a hot iron, press the folded seam firmly for several seconds, following the glue manufacturer’s instructions for application time. This will activate the glue and create a secure bond.
Trying on the Altered Jeans
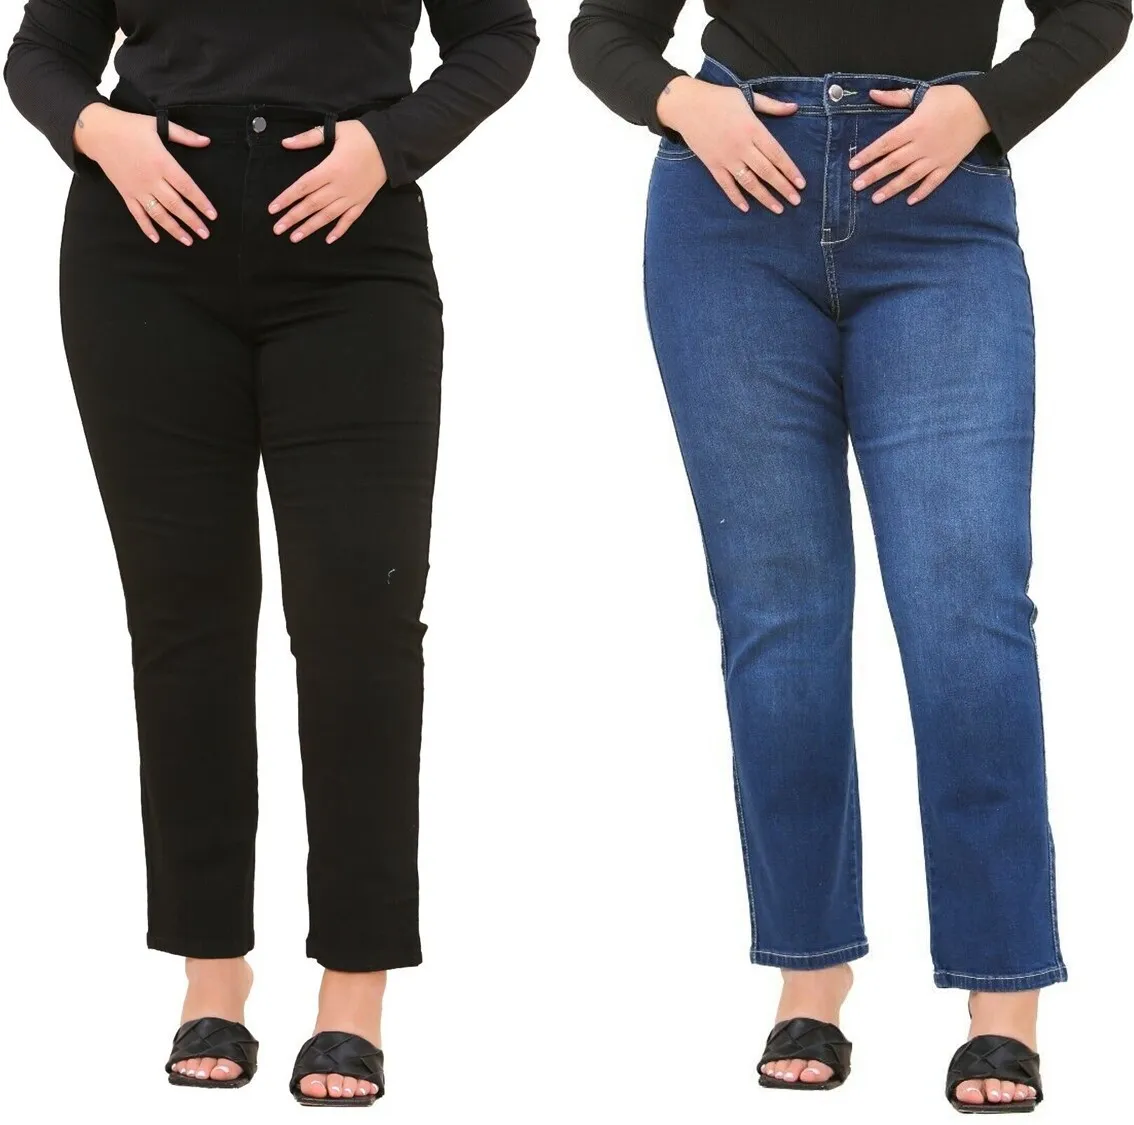
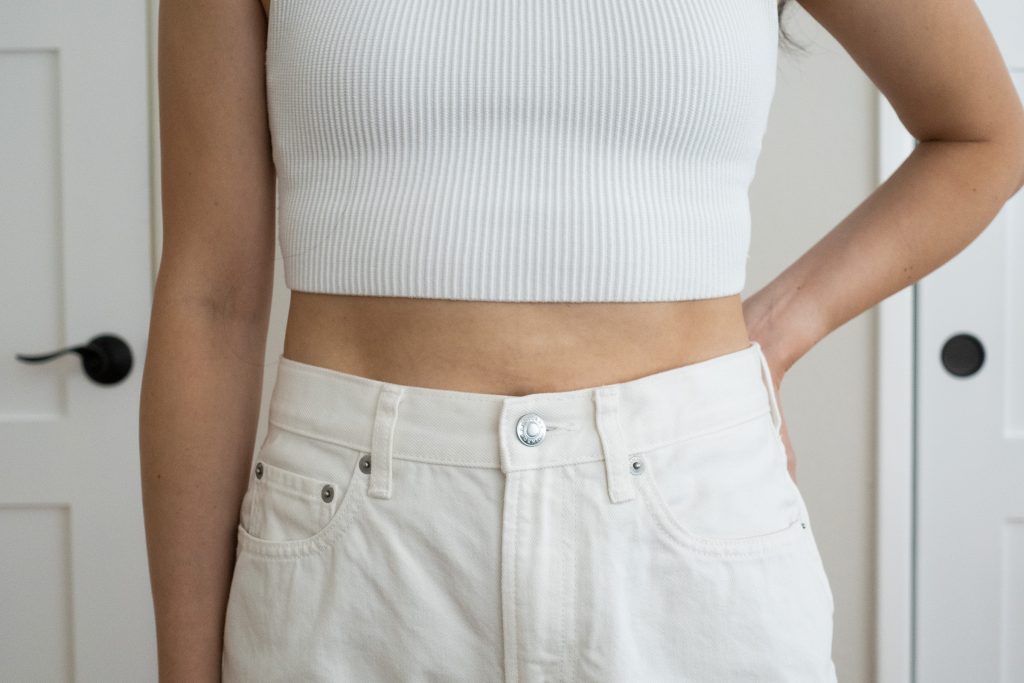
After putting in the effort to take in your jeans’ waist, the moment of truth arrives: trying them on! Here’s how to ensure a perfect fit and address any lingering issues.
The Big Reveal
Put on your jeans and stand in front of a full-length mirror. How do they feel? Ideally, the waist should hug your curves comfortably without feeling restrictive. Bend over, squat, and walk around to assess the fit throughout movement.
Checking the Fit
- Waist: Does the waistband sit at your desired height? Is there any gaping at the back or sides?
- Legs: Do the legs feel comfortable through the thighs and calves? Are there any unwanted bagginess or tightness?
- Overall Silhouette: Does the overall silhouette flatter your figure?
Making Adjustments
If you notice any issues, don’t be discouraged! Small adjustments are often necessary to achieve the perfect fit. Here’s how to address common concerns:
- Gaping Waist: For the sewing method, you can carefully unpick a few stitches and take in the seam a bit more. For the no-sew method, unfortunately, further adjustments might be difficult.
- Tight Legs: Unfortunately, taking in the waist doesn’t alter the leg shape. If the legs feel too tight, you might need to consider a different approach, like taking out a side seam for some extra wiggle room.
- Uneven Fit: Sometimes, taking in the waist can lead to slight imbalances. If one side feels tighter, you can carefully adjust the corresponding seam for a more even fit.
Tips for a Flawless Finish
- Try on Different Tops: Pair your jeans with various tops to see how the overall silhouette looks.
- Consider Belt Options: A belt can add a stylish touch and help cinch the waist further if needed.
- Confidence is Key: The most important factor is how you feel in your jeans! If you feel confident and comfortable, you’ve achieved a successful alteration.
Taking in your jeans’ waist is a rewarding experience that allows you to breathe new life into a beloved pair. With a little patience and these fitting tips, you can achieve a perfect fit that flatters your figure and makes you feel your best.
Maintaining Your Tailored Jeans
Once you’ve taken in the waist of your jeans, follow these tips to keep them looking their best:
- Wash your jeans inside out on a gentle cycle to minimize wear and tear on the stitching.
- Hang dry your jeans to prevent shrinkage.
- If you used the sewing method, reinforce any areas that experience stress, such as the belt loops or waistband corners, with a few extra stitches.